Leaking Shower? Learn How to Tighten Your Shower Faucet
Has that leaking shower faucet in your master bathroom driven you crazy yet? Would you like to fix it yourself but are afraid to try because you don’t know how? Don’t beat yourself up because there’s a lot of other homeowners who feel the same way you do.
According to a recent survey, 32 percent of homeowners have been putting off home improvement projects for at least 12 months or more. About 10 percent of these homeowners feel like they’re incompetent to fix even the minor problems.
If you’re ready to kiss that leaky shower faucet goodbye today, then this article is for you! Read further to learn how to stop a leaky shower faucet and keep your hard earned money from washing down the drain.
Leaky Shower Faucet: Find the Culprit
Shower repairs are some of the most common home repairs that homeowners will see. Before you start any investigative work to get to the bottom of the leaky shower faucet, be prepared to turn off the water supply from the main water line.
Your shutoff valve may be located in your bathroom or in your basement. You only need to cut the water supply leading directly to the bathroom, not to the rest of the house.
There are a number of reasons why your shower faucet could be leaking. Here are just three of them and how you can stop the leaks for good.
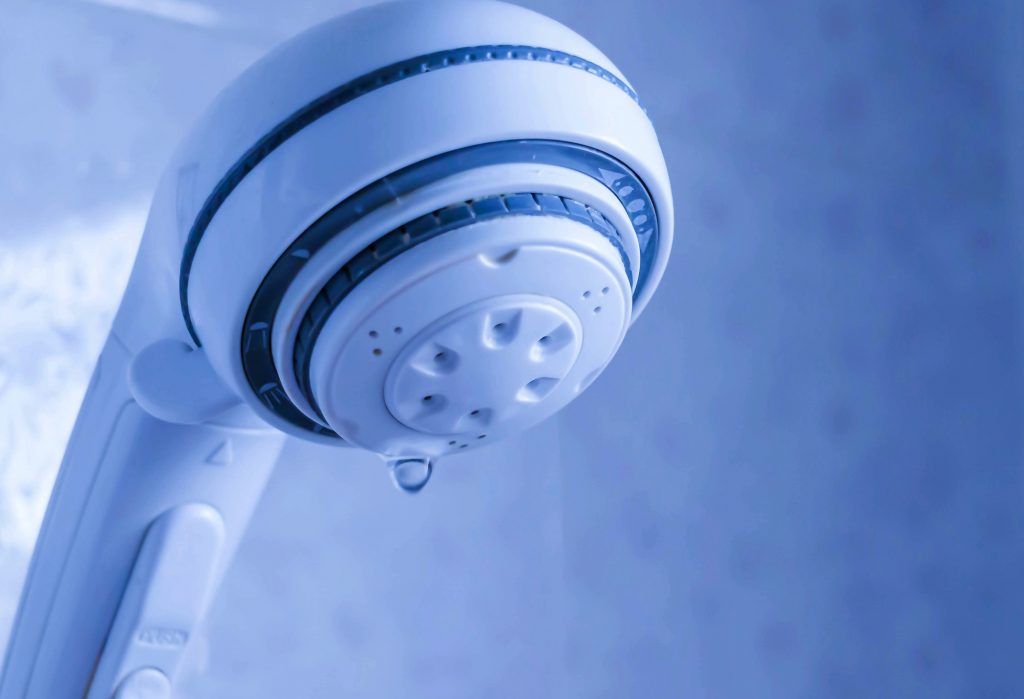
Clogged Shower Head Holes
Your shower head’s holes could be clogged with lime mineral deposits that build up over a period of time. Clogged shower head holes are a common plumbing problem that’s one of the easiest to fix.
Detach the faceplate and shower head from you’re your fixture. These pieces are held together with screws that surround the faceplate that you can twist to remove it altogether.
Submerge your shower head and faceplate in a container of coarse salt and white vinegar. Be sure the white vinegar completely covers the showerhead. Soak these pieces for eight hours to dislodge the mineral buildup.
Cracked Rubber “O” Ring Washer
A leaking shower head can also be a sign that the rubber “O” ring washer is worn out. Washer’s start to crack over time and water will trickle through these cracks.
A leaking shower head can also be a sign that the rubber “O” ring washer is worn out. Washer’s start to crack over time and water will trickle through these cracks. If this is the case, determine which rubber washer must be replaced.
There are many styles of faucets. Do you have a compression faucet? A compression faucet means you have a two handle faucet.
If this is the case, you’ll need to replace the rubber washers inside both faucets.
If you have a single-handle faucet, then it’s likely the rubber washer located inside of the shower head that needs to be replaced.
To change a faucet washer, unscrew the faucet handle. Pull the handle hard to remove it from the faucet body. Once the handle is off, you can unfasten the faucet stem from its hex nut.
When the faucet has been exposed, you can replace the washer. Sometimes faucet washer repair kits make this job easier. They also help you replace seals as well.
To change a showerhead washer, begin with removing the showerhead from the shower arm. Unscrew the face of the shower head to expose the collar nut. Loosen this collar nut so that you can see beneath the swivel ball where the rubber washer sits.
When you find the rubber washer, pull it out and replace it with a new washer of similar style and size. Your replacement washer should also be the same thickness as the old one. Reassemble the shower head and test for additional leaks.
Broken Diverter Valve
A leaking shower faucet can also be the sign that the diverter valve is broken. This shower valve lets you have more than one shower head inside your shower. It also allows water to shift from the shower head to the bathtub faucet.
The best way to fix a diverter valve is to clean off any sediment build up. Remove the faucet handle so that you can see the diverter valve. Unscrew the diverter valve from the hex nut on the faucet stem.
Once the diverter valve is free, you can clean it. You can do this with a small wire brush soaked in white vinegar. Once the valve is clean, let it completely dry before you reassemble.
Busted Cartridge Valve
Chances are you may also have a broken cartridge valve that’s contributing to your leaky shower head. You can find your cartridge valve when you dislodge the faucet handle. Depending on the age of your plumbing, you may find it difficult to pull off the faucet handle.
There are many companies that manufacture these shower valves. Some of these models include a Moen cartridge or a Delta shower valve. Procedures for replacing the cartridge valve will vary between manufacturers, so be sure to read the instructions thoroughly.
Remove the showerhead cover plate from the handle with a flathead screwdriver. You should also unscrew the escutcheon plate beneath as well.
Lift the clip that’s holding the cartridge valve in place and pry it loose to remove. Apply grease to your replacement cartridge and slide it into place. Push the cartridge valve clip down to hold the new valve in place.
Apply silicone gel all over the back face of the escutcheon plate. This layer will create a watertight seal over the new valve. Return the cover plate to the shower handle and install back into place.
Next Steps
Ready to stop that leaky shower faucet once and for all? The good news is that you can start today. To begin your investigation, shut down the water supply to your shower.
Pry the faceplate off the showerhead and check for clogged holes. Check the quality of your rubber “O” ring and replace if necessary. If these easy fixes don’t solve your problem, it may be time to call the plumber to help solve the mystery.
Don’t forget to check our blog for more helpful home improvement advice. We’re here to help you make sure your home stays as comfortable as it can be.