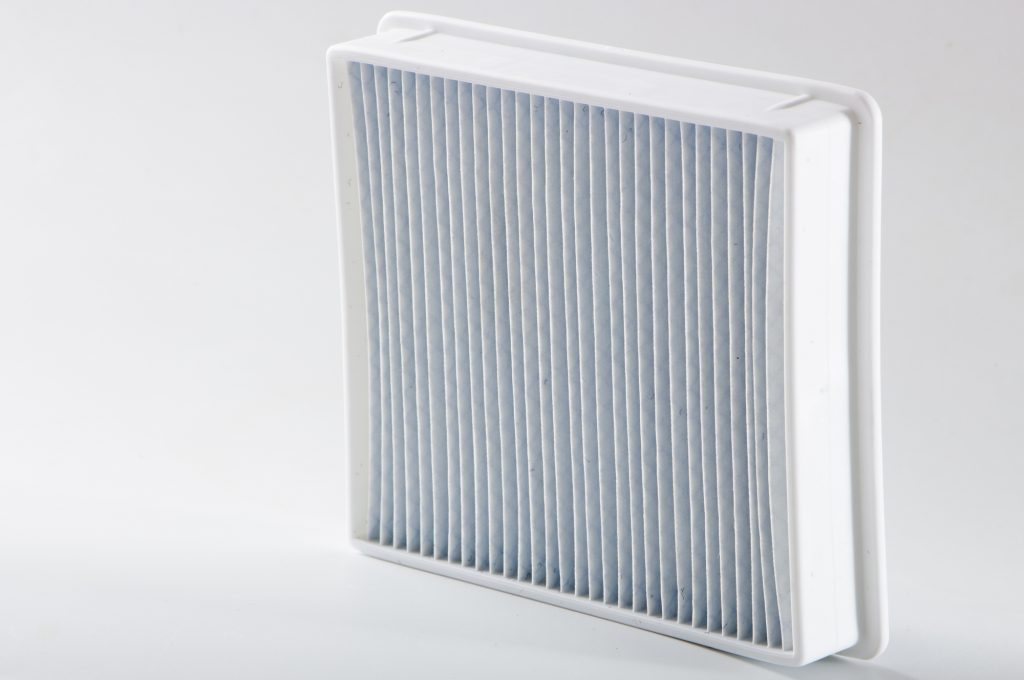
A First-Timer’s Guide to Checking and Replacing Your Home’s AC Filter
Whether you’re a young homeowner or recently living on your own for the first time, everyone has a first time changing their A/C filter. Luckily, replacing an A/C filter is very much a DIY project, unlike cleaning out your air ducts.
If you aren’t quite sure how to replace the AC filter or don’t know if your filter needs to be changed yet, you’ve come to the right place! Here’s a step by step guide on how to identify a filter that needs changing and how to change it yourself.
1. Gather Materials
It is important to be prepared for the job before you start it. In order to properly execute the checking and replacement of an old AC filter, you will need a screwdriver, a new filter, and a flashlight.
All of these materials will help when doing the job. A screwdriver will help you open the filter cover and remove the filter itself. A flashlight will help you to check the filter’s condition.
2. Remove Filter
In order to remove the filter, you’ll first need to unscrew the door to the filter. Use your screwdriver to undo the hinges, and then take the door off. Now, the filter is fully exposed.
Remove the filter by reaching in and pull it out. Sometimes, you may need to push the filter in and repositioning it before finally removing it.
3. Check Old Filter
It’s unnecessary to replace a filter that really doesn’t need replacing. Once you’ve removed the old filter, check it to make sure that it needs to be replaced. Generally, a replaceable filter will be grey throughout with dust particles.
You may also want to test to see if your old filter is allowing air flow. To do this, blow through the filter and see if there is air coming through on the other side.
4. Line Up Filter
This may be the most important aspect of replacing the filter. Once you’ve determined that a new filter is necessary, be sure to line it up in order to allow the air to flow well through the filter.
In order to ensure this, you need to look for the arrows on your new filter. The arrows are intended to point into the wall, away from you. make sure that when you insert the filter, you have the arrows pointed in. Be sure to read more about the importance of proper filtration.
5. Insert New Filter
Finally, it is time to insert your new air filter. This may be the easiest part of the replacing ac filter process. All you will need to do is either slide in or push in your new filter. Be sure to have a filter of the correct size for your AC unit and for the wall.
Why You Should Always Replace the AC Filter
An old air filter can be very bad for the health of yourself and your family. It may allow dust to enter your home and reduce your ability to breathe properly. It may also damage your AC unit, which may cost you significantly to repair. This is why you should always replace the AC filter.
For more everyday lifestyle tips, be sure to check out our other articles!

