How to Build a DIY Solar Oven to Save Money and the Environment
Wouldn’t you like to be able to cook up a hot dog for lunch using the power of the sun? A quick weekend project could bring this dream to fruition.
A simple solar oven can be used for camping trips or just to save energy costs in your home. In a few simple steps, you’ll be cooking cocktail weenies for Sunday brunch just because you can.
Aside from being fun, a solar oven is a great way to cut energy costs and be more environmentally conscious. Follow these steps to building a DIY solar oven. You’ll be the envy of all your neighbors.
Collect Your Tools and Materials
- Two cardboard boxes (one must be able to fit inside the other)
- An extra piece of cardboard larger than the outer box (at least six inches wider than the larger box)
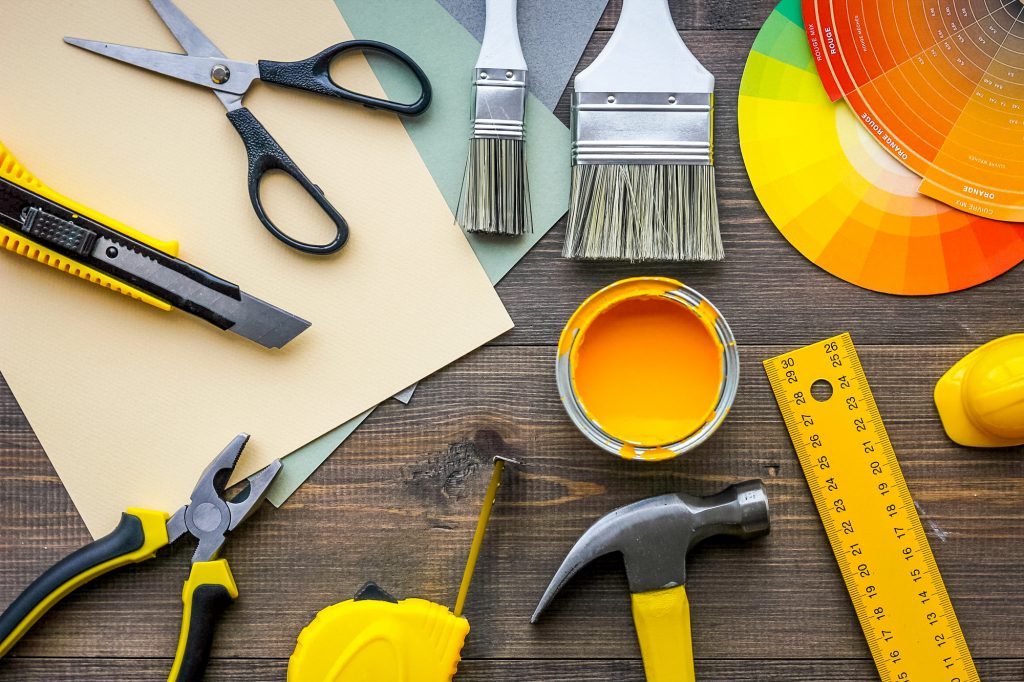
- Box cutters
- Aluminum foil
- Black paint (or black construction paper)
- Insulation (shredded newspaper, dried plant material, foam insulation, etc.)
- A stick
- Sheets of glass or plastic (plastic wrap will suffice)
Cutting the Window
Use the smaller box as a guide to cut a hole in the bottom of the larger box.
On the extra piece of cardboard, center the larger box and trace around it. These will be your fold lines.
Center the smaller box on the same piece of cardboard. Use your box cutters to cut three of these lines.
This will be the flap for the reflector. The resulting window should be the same size as the inner box.
Black Absorbs Heat
The inside of the smaller box should be painted black. You can also use black construction paper or another black material that can cover the inside of the box.
The Aliens Are Coming
Once the inside of the small box is dry, cover the inside of the small box with foil. If you are using tape, make sure the tape is clear.
The shiny side of the foil should be facing outward, as it will better reflect the heat of the sun.
The flaps of the larger box will need to be covered in foil as well. These flaps will direct heat into the smaller box.
Adjust the Boxes
You may need to adjust the boxes to fit the pots and pans you decide to use. The inner box will need to be slightly taller than your pot. The outer box will need to be slightly taller than the inner box.
You may need to cut and fold to make minor adjustments.
Nesting the Boxes
Once your boxes are well adjusted, it’s time to join them together. Make sure the openings are correctly aligned.
Use an adhesive to join the two boxes together. The small one goes inside the big one.
You should now have one double-walled box.
Insulation Time
You should have a little space between your inner and outer boxes. This is where you will place your insulation.
You can either use pieces of shredded newspaper, dried plant fibers, or another form of insulation.
At this point, you can close the flaps of the outer box and seal the underside of the solar oven. Use an adhesive or strong tape to do this.
Inserting the Window
Using a strong adhesive, secure the sheet of glass to the underside of the window opening. Make sure the seal is tight, and let it dry overnight.
As an alternative, you can use a sheet of plastic or plastic wrap. This could save money if you cannot find a piece of glass lying around your home.
Make a Prop for the Lid
In order to keep the lid up to reflect heat into the solar oven, you will need to make a prop.
You may be able to find good materials for this around your home. This could be a stick from your yard or bamboo skewers from your kitchen.
This will just make sure that the heat goes into your oven and not back into the atmosphere.
Using Your DIY Solar Oven
In order to use your new solar oven, you will need to make sure the sun is out. The best times to use one of these ovens is when the sun is directly overhead. Depending on the time of year and your location, this could be between 11 am and 3 pm.
It will work better in the summer than in the winter.
You will want to use dark pots with your solar oven, as they will absorb the most heat and maximize cooking.
Place your oven outside on a level surface. Orient it and adjust the reflector to maximize the sunlight reflected into the oven.
Depending on the meal you are cooking, you should leave it to cook for a few hours.
This sun oven can reach temperatures upwards of 200 degrees F, but will certainly not reach temperatures comparable to a standard kitchen oven.
Will This Really Save Energy?
Likely not. Cooking accounts for such a small amount of total home energy costs, that this cooking method isn’t likely to save you a whole lot.
This is, however, a fun project that may inspire you to be more environmentally conscious. You can think of new ways to do things and save the Earth.
If you are looking to minimize energy costs, you may wish to look into solar panels for home. We can only be here as long as the sun is here. As long as the sun is here, we can use its energy to our advantage without harming the planet.
Saving This Blue Dot One Project at a Time
There are countless ways you can start minimizing your impact on the planet. Remember that we are all responsible.
This is just one project that you can explore to help save the planet. Bring it with you on camping trips or just cook those cocktail weenies in your backyard.
If you have fun building a DIY solar oven, maybe you could make a compost toilet next. Visit our site to discover more fun DIY projects that you can do this weekend.