How to Build a DIY Treehouse for Kids
Did you know that spending more time outdoors comes with a whole host of benefits, from improved concentration to reduced risk of early death?
Pretty impressive, right?
But what if you struggle to motivate your kids to play outside?
Building an awesome treehouse in your backyard is a guaranteed way to capture their imagination, and it’s a fun project for everyone to take part in.
While buying a pre-made treehouse can be costly, it’s not too expensive to create your own DIY version.
To get your project off to a great start, we’re sharing this step-by-step guide to building a treehouse for kids.
Let’s do this!
Find the Right Tree
You can’t just pick any old tree for your treehouse – you need to make sure that it’s strong enough to support the structure, won’t be affected by extreme weather, and isn’t too young.
The perfect tree will have a sturdy trunk, strong branches, deep and well-established roots, and no sign of disease or parasites.
If a tree is too young, too flimsy, or affected by parasites, it probably won’t support the weight of your treehouse.
Create a strong foundation for your project by selecting the right tree from the start.
Check Local Regulations
Did you know that building a treehouse for kids could mean you’re affected by local building regulations?
Depending on where you live, you might need to seek planning permission for your treehouse, or ensure that it stays below certain size limits.
Check local regulations before you finalize your plans and start building, or you could be forced to tear your treehouse down.
It’s also good practice to let your neighbors know about your plans, and ensure that your planned treehouse won’t affect their privacy or enjoyment of their home.
Decide on a Design
Before you start hammering, you need to be fairly clear on the type of treehouse you’re planning to build.
You’ll need to decide on the size and dimensions of the treehouse, the height of the walls, the number of levels or floors, and the type of roof.
Don’t worry if you’re not an architect – there are plenty of treehouse designs available online, and most of them are easy enough to adapt to your needs.
Make a few practice sketches of your tree and treehouse to identify any potential issues or changes needed.
Create a Cardboard Prototype
Once you’ve got a design that works in theory, it’s time to put it to the test.
Use cardboard to put together a small scale model of your treehouse and tree, so that you can look at it from all angles.
You might realize that you need to make the floor wider, add extra railings, or simplify your design. If your treehouse is difficult to build out of cardboard, it will be even more difficult using wood.
If you’re torn between several different designs, make a prototype for each so that you can compare and contrast.
Don’t forget to get the kids involved in your planning – they might have considerations you’d never even though of.
Choose the Right Support Method
There are three main methods of support to choose from when building a treehouse for kids, and they all come with unique benefits and drawbacks.
We’ve summarized the options below.
Post Method
The post method involves sinking several support posts into the ground and using these to support the treehouse, rather than attaching anything directly to the tree itself.
It’s the best option if you’re worried about damaging your tree, you’re concerned that the tree might not hold the weight of your treehouse, or you just can’t figure out how to attach supports to the tree.
The post method can be used to support treehouses of all shapes and sizes – you’ll just need to add more supports for larger structures.
Bolt Method
The bolt method is the most traditional support method, and probably the one you’re familiar with.
It involves bolting the floor platform and support beams directly to the tree, meaning you need a sturdy tree that’s correctly shaped for it to work.
If you’ve got the right tree, this method can work. However, it’s also the most harmful to the tree, and should only be chosen if you’re 100% sure that it will create a safe and secure treehouse.
Suspension Method
The suspension method involves suspending your treehouse from higher branches of the tree using ropes, cables, or chains.
It can work well for lightweight designs but requires a strong tree and good knowledge of suspension.
Unless you’re an expert, it’s best to stick with one of the previous options.
Figure out an Access Method
You’re on the way to having an awesome treehouse for kids, but how will they actually access it?
The traditional method of nailing boards directly to the tree is best avoided due to the damage it can cause, but there are plenty of other solutions.
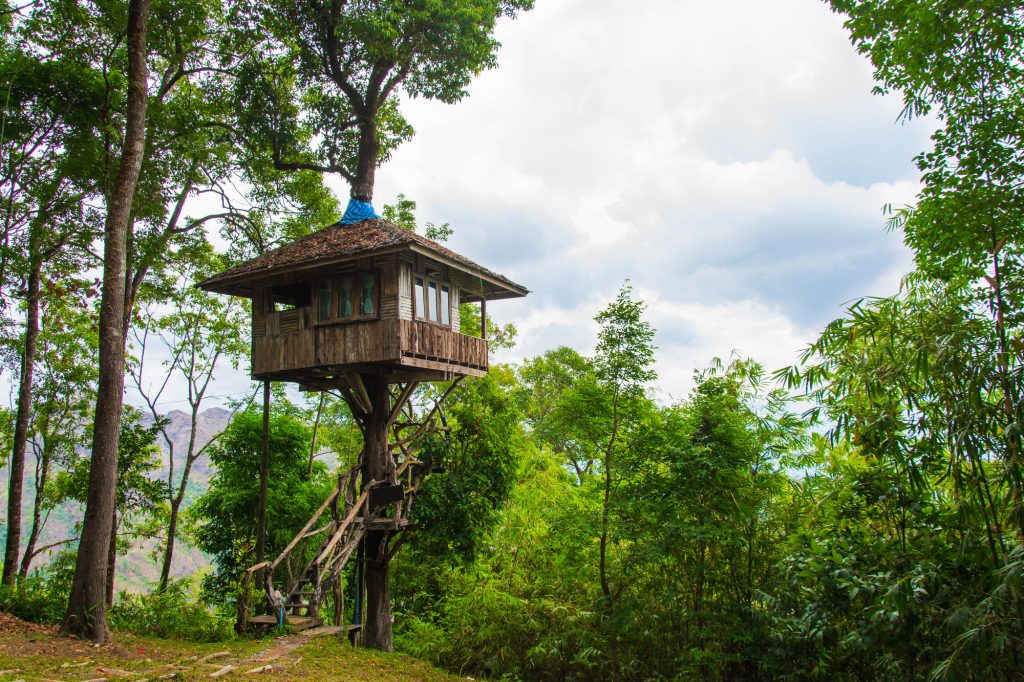
You could attach a rope ladder to the main deck of the treehouse, create a wooden staircase leading up to the treehouse, or use a standard wooden ladder.
A rope ladder is the easiest option, but also the most dangerous to climb. If you’re concerned about safety, a secure ladder or staircase is the best choice.
It’s possible to experiment with different access methods, so don’t feel like you’re limited to just one!
Add Railings and Roof
A wooden platform isn’t much of a treehouse on its own, but adding some railings and a simple roof will make a world of difference.
Use wooden fencing to keep kids secure when they’re up in the treehouse, and create a basic roof out of wood, tarpaulin, or fabric to protect them from the elements.
Getting your kids involved here is a great way to teach them about wilderness survival and shelter.
How to Build an Awesome Treehouse for Kids
Building a treehouse for kids is an amazing family project, and it doesn’t need to end in arguments.
Set yourself up for success by getting permission, choosing the right tree, experimenting with different design prototypes, and choosing the right support and access methods.
You’ll soon be having tons of family fun in your new treehouse.
Looking for more fun DIY projects? Check out our blog.