How to Easily Install a DIY Dog Door Like a Pro
Your life is busy. Between running errands, getting work done, and going on fun outings around town, your dog spends a lot of time alone.
At the end of a long day, the last thing you want is to have to get up from family dinner to take the dog out.
Unfortunately, the average adult dog needs to be let out to relieve itself at least three to five times a day.
If you’re tired of getting up from meals or having to come home early to let out your pet, then you should consider installing a dog door. Think this project is too complicated to do in your home? Think again!
Check out this helpful guide on diy dog door installation.
Selecting Your Dog Door
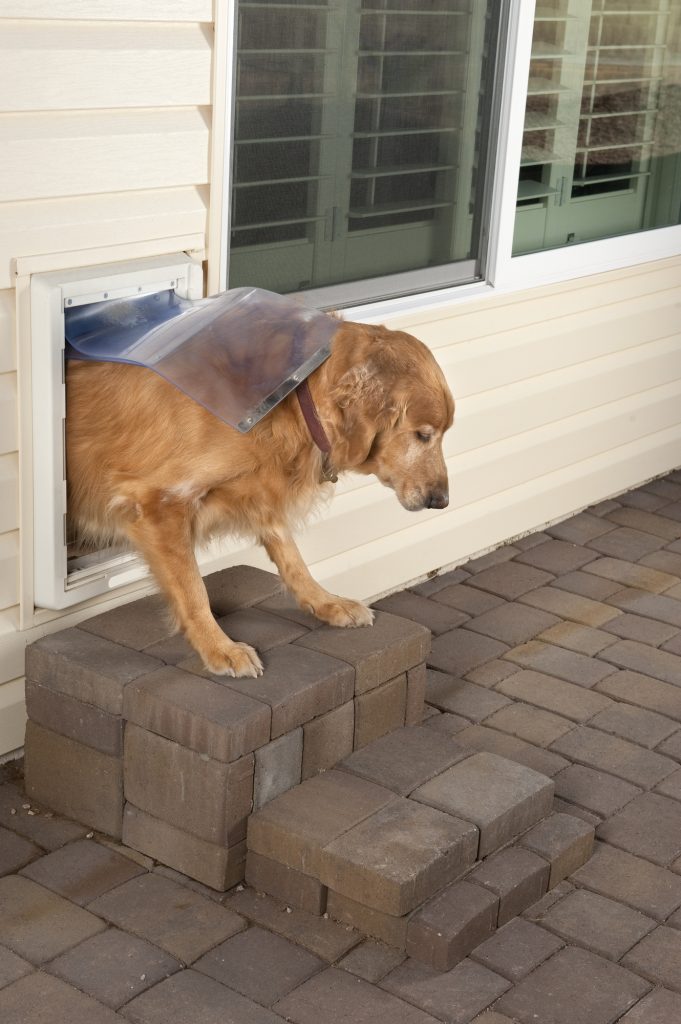
The most important part of picking a dog door is making sure the opening is the right size for your dog.
If the opening is too small, it will be unusable. But if it is too big, it can cause your home to lose its energy efficiency.
Make sure you choose a door that has an opening that is two inches wider and taller than your pet.
Most pet doors, like this dog door, come with a kit of items that will be used for installation such as a template and weatherproof stripping.
DIY Dog Door Installation Tips
Now that you have selected a door, its time for installation. The majority of pet doors come with a template to help you with the installation. Place it in the desired location on your door leaving at least three inches from the bottom of the opening to the bottom of the door.
Next, you will tape your template in place and trace the opening onto the door. Make sure you also mark any places where a screw will need to be inserted.
To begin to remove the opening from your door, start by drilling holes in each corner using a half inch drill bit. Be sure your hole is within your drawn lines.
Next, if your door has screws that secure it in place, you will need to drill holes for those.
Once you’re finished drilling, you will use a jigsaw to cut from your half inch openings along the pencil line you drew.
Next, you will insert the door and make it flush with the door’s surface. You may have to break off some of the additional layered pieces of your dog door to make it fit properly.
Now that your frame is in place and flush, it’s time to put in the screws and add caulk to the outside of the door to help with insulation.
More Helpful Articles
Now that you’ve finished your DIY dog door installation, it’s time to move on to the next project!
Check out our selection of DIY articles to make your dreams come true today.