Interior Painting Tips: 9 Easy DIY Tricks to Paint Like a Pro
Are you planning an interior home remodel? A remodel can turn a drab home into a fab one. It can also make a small home look bigger.
While this is an exciting process, it’s an arduous one. And you’ll likely endure one of the most difficult phases immediately — repainting.
From choosing the colors to gathering the supplies, painting your home turns more into a chore rather than an exciting endeavor. While hiring a pro is a great option, it’s not always the best one.
Before you take out the paintbrushes, you should learn about the secrets from the pros.
Here are eight interior painting tricks that professionals use.
1. Clean Your Walls First
This step may sound silly, but it’s essential to have an even paint job. Dirty walls will affect the outcome and appearance of your paint. Painting any dirt and oil will cause the paint to chip or peel off.
Take a heavy-duty cleaner with a cloth or sponge and get to cleaning your walls.
You can also use a deglosser to ensure your walls are even.
2. Prime Your Walls First
You may think using paint primer is a waste of time, but it can actually make your walls look professionally done. Paint often makes your walls look blotchy because a wall’s texture is often uneven.
Primer gives paint an even surface to stick to.
3. Mix Several Cans of Paint
Did you stumble across the perfect color for a bedroom? You should buy at least three other colors similar to that shade.
When you only paint in one shade, you’ll notice the color looks inconsistent throughout the room. Lighting, wall texture, and other issues that occur during the painting process, such as uneven drying, causes inconsistencies.
In addition, the color may look different on the strip than it does on your walls.
Mixing different shades helps to eliminate these problems. Maybe not completely, but your walls will look a lot better.
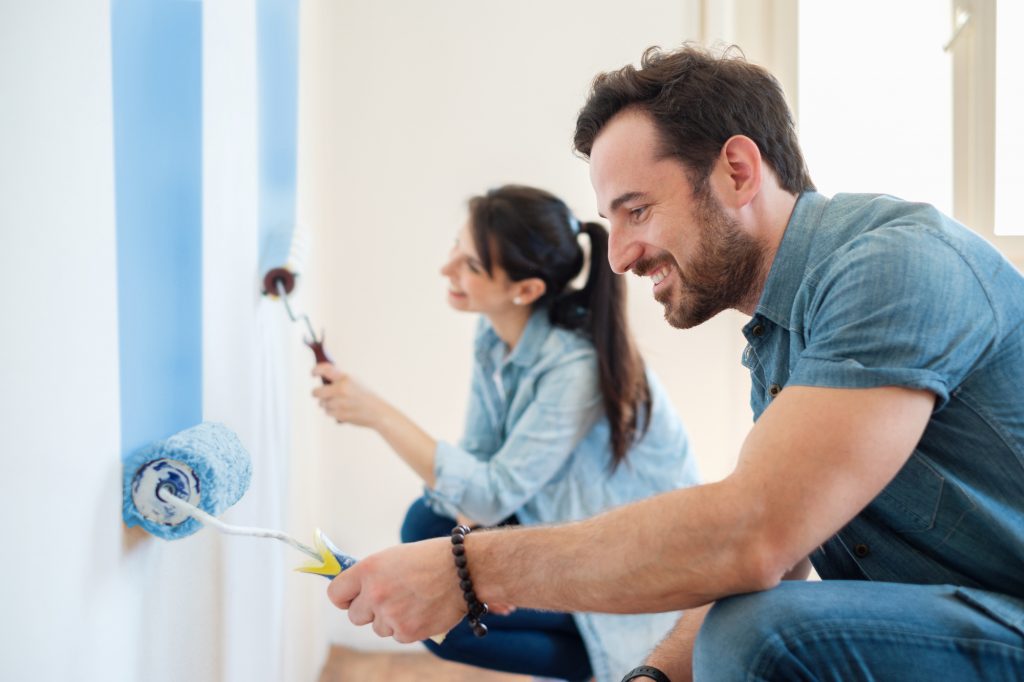
4. Roll the Paint the Whole Height of the Wall
Instead of using short strokes, use long strokes. This helps to prevent lap marks.
Lap marks are stripes caused by paint buildup. In other words, they happen when you use short strokes.
The buildup occurs when the paint is partially dry. Paint dries in less than a minute — plenty of time to dry unevenly and cause ugly marks.
To prevent lap marks, paint in long strokes, starting at the bottom and rolling to the top. Have a “wet edge.” This is when the next stroke overlaps the side of the previous stroke.
5. Paint the Trim First
Pros follow a specific order when painting a room. Almost all pros paint the trim before the walls. The trim is the small part at the bottom of the wall. That’s because it’s easier to tape off the trim.
If the trim paint is uneven, it’s usually masked when you paint the walls. You can also fix trim paint easier than you can fix wall paint.
The goal with trim paint is to make the trim look as smooth as possible. The process isn’t as complex as painting the walls.
Before painting the walls, let the trim dry. The trim dries in about 24 hours.
Speaking of letting the paint dry…
6. Let the Paint Dry Before Removing the Tape
A common amateur mistake is removing the tape immediately after painting. This can result in messed up wall paint. You risk jagged edges of paint, defeating the purpose of taping off the wall for painting.
Like the trim, wall paint usually dries in about 24 hours.
You shouldn’t simply pull on the tape. For a super sharp edge, cut the tape.
There will be a film between the tape and where you painted.
That’s normal, but pulling the tape can cause this film to break off, also resulting in jagged edges. Cutting the tape will prevent this from happening.
7. Lay Cotton Cloths on the Floor Rather Than Plastic
When you see people paint, you usually see plastic on the floor. But it’s better to use cloths to improve cleanup. A cloth is thicker than plastic. It absorbs the paint and performs better than plastic.
Cloth also stays down better than plastic. You also don’t need to tape down cloth because there’s little chance it will move around and stick to your feet.
8. Roll Paint Around the Edges
Many people don’t realize how hard it is to paint around the edges.
Walls near the edges have a different texture than the rest of the wall. This causes your paint to look uneven.
To achieve an even look, roll the paint around the edges with a circular paint brush. Make sure you don’t hit the trim. Do this before you paint any other section. You’ll have even paint and the edge will dry quickly.
9. Can’t Keep a Wet Edge? Feather Out the Paint
What if you tried our advice and still can’t keep a wet edge? The best way to disguise uneven drying is to feather out the paint.
How do you feather out the paint? Take the roller on the dry edge and move it in all directions. This prevents the paint from looking like a straight line and makes the paint look and dry even.
What If You Still Can’t Paint?
So you tried these tips and your walls still aren’t turning out well? It may be time to call a pro.
While it’s more money, you can ensure a professional will get the job done. Read more now to discover the benefits of letting a professional handle your interior painting.
DIY Interior Painting Is Easier Than You Think
From cleaning the walls to paint evenly, the pros have many interior painting tricks up their sleeves.
Whether you’re trying to save money or you prefer to go the DIY route, painting your own home is possible. If all else fails, there’s always a pro who can help you out.
Visit our DIY section for more tips.