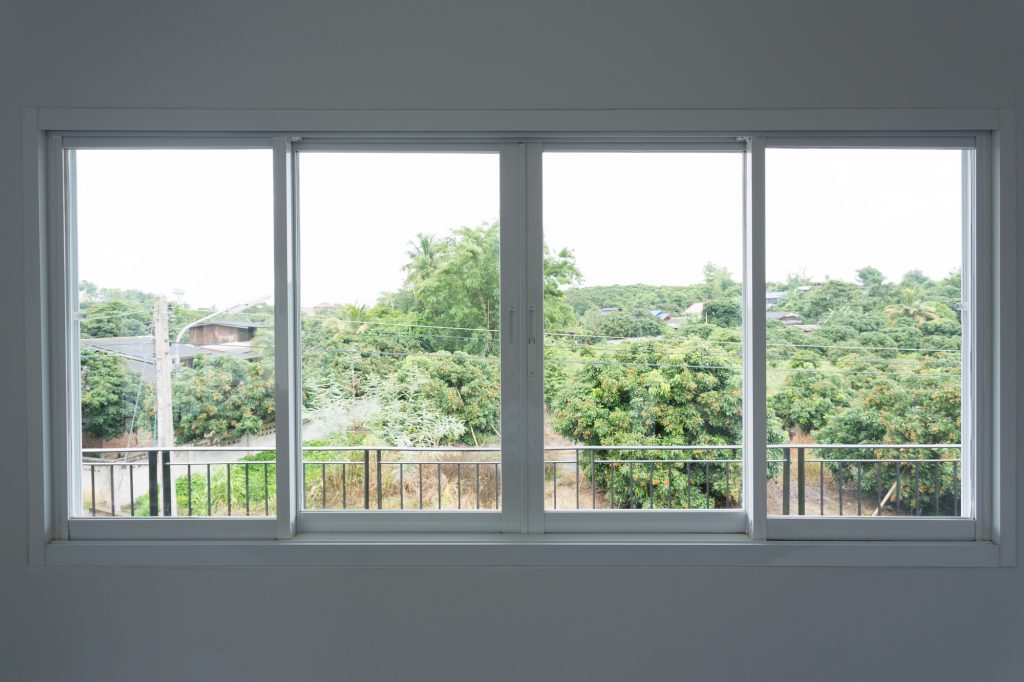
Let it Be Seen: DIY Double Pane Windows
Did you know a double pane window can cost over $300 per window to buy and install?
No wonder more people are looking into doing it themselves especially if they have more than one window to replace.
Ready to give your house a bit of character?
Why not try out our DIY double pane windows guide?
It’ll give your house the look you want.
Let it Be Seen: DIY Double Pane Windows
Windows that have a single pane can increase heating and cooling costs where double pane are more efficient. Double pane windows can be so expensive that it doesn’t make sense to upgrade them. Construction your own double pane windows might be the answer for you.
It’s not as complicated as it sounds either. Double pane windows can be built by a person with modest skills and for a minimal cost compared to the average cost. Building and updating your dream home doesn’t have to drain your wallet.
A bonus about doing your own is if someone breaks the glass by accident it can be replaced with glass sheets from a local home supply store. Another bonus is that the seals can be replaced if the windows begin to collect moisture.
Materials Needed:
- Existing single pane window
- Putty Knife
- Utility Knife
- Measuring tape
- Soft cloth
- Glass cleaner
- 4.5 mm Plastic edging
- Butyl mastic adhesive cartridge
- Glazier’s points
- Cartridge gun
- Window glazing cartridge
- 3mm glass pane already cut to size
Directions to Make Your Window
Once you have gathered all the supplies above it’s time to get started. UPVC windows are the most common type of windows chosen. Keep in mind that most hardware stores will cut a pane of glass to any custom size that you need.
Prep the Single Pane Window
First, place the single pane window on a firm surface with the interior side up. Use the putty knife to scrape the glazing from the window pane. Once the glazing is removed clean the glass with glass cleaner and wipe it clean.
Once you clean the glass allow the window to air dry before moving on. Check the plastic edge that holds the pane in its place and make sure it rises a little above the pane. Once you check that double check that the edge is flush with the window pane.
If the edge isn’t flush with the window pane trim it until it’s flush. Next, you will prep the plastic edging. Measure the width of the window and cut two strips of plastic edging the same width as the window.
These edgings are going to be for the top and bottom of the window.
Apply the Adhesive
Apply a strip of butyl mastic adhesive directly to the window pane along the top and the bottom. Make sure the adhesive covers the edge of the window and a small amount of the window pane. Press the strips of edging into place (one at the top and one at the bottom of the window).
Apply pressure to ensure that the adhesive bonds to the edging. When you’re done wipe away the extra adhesive with a rag.
Cut two more strips of edging to fit on the sides of the window pane and apply the adhesive to secure them to the window pane. Ensure the adhesive sticks to the edging just like the top and bottom pieces.
Seal the gaps between the edging by applying a small amount of adhesive to each corner. Even if it’s a small gap it needs to be sealed to prevent condensation in the future.
Pull the edging away from the window pane to apply a small amount of adhesive behind the edging to secure it. Give the adhesive enough time to dry before moving on.
Time to Prep and Use the New Pane
Clean the new window pane that you have, wipe it with a soft cloth and allow it to air dry. Once the glass is dry put a small amount of adhesive around the edging and press the new glass pane into place. Apply light pressure to make sure the adhesive bonds to the edging and the glass.
Next, install the glazier’s points around the edge of the glass. Follow the manufacturer’s instructions when installing the glazier’s points. Once complete set the new double pane window aside and allow enough time for the adhesive to dry.
Check the manufacturer’s directions for the specific adhesive you use. Drying time can vary between 36-48 hours.
Time to Glaze
Apply a tiny amount of window glazing to the outer edge of the new window glass pane and spread it with a clean rag around the entire glass. Follow the manufacturer’s directions on the drying time.
Once the glaze is completely dry your new window can be painted if you choose and then installed.
Housekeeping Notes
This DIY double pane glass window is air-gap filled instead of noble-gas filled. A disadvantage to this is the heat is easily transferred because of the air circulating in between the two window panes. Noble-gas filled panes lower the heat transfer.
If you’re replacing an older double-paned window that was noble-gas filled it probably has lost the gas it had at first. A plus side of air-filled windows is that anyone can replace the glass and replenish the desiccant without special training or tools.
Ready to Tackle Your Double Pane Window?
Follow the steps above to make your own DIY double pane window. Making your own will give you the option to make it the color and design you want. There are lots of great window ideas out there that you can apply to your own windows.
Looking for more DIY projects? Check out the DIY section of our blog for more fun ideas.

