DIY Projects: Tools Required
Did you know that 1 out of 3 people call in the pros after their DIY project failed? If you are looking at using your time wisely this winter and are obsessed with all the DIY projects you see online and on Pinterest, you are in the right place.
Keep reading to learn the top DIY projects you can tackle yourself where tools required is a must.
Kitchen Step Stool
If you have super high cabinets that you can barely reach, you might want to consider building your own kitchen stool. It will come in handy for anyone that is vertically challenged at home.
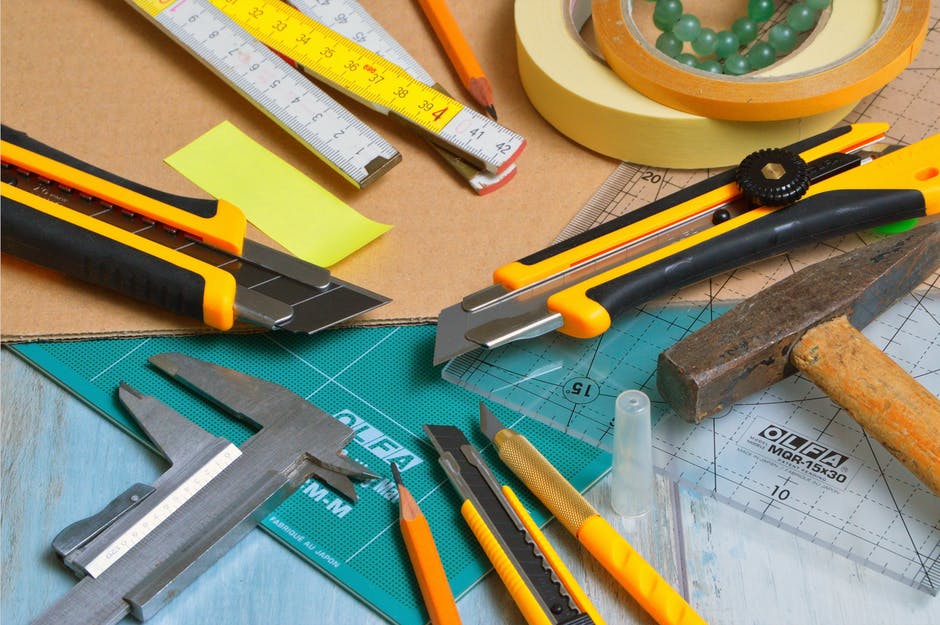
You will need to gather wood glue, 3/8″ walnut dowel, 1/4″ plywood, and 3/4″ birch plywood for materials. The tools you will need include a router, jigsaw, clamps, blade set, handsaw, and table saw. You can check out more here for some knife options.
You will need to cut out the sides, the top, and one step to put in the middle. Use the wood glue and clamps to put the pieces together and do not remove the clamps until the wood glue is completely dry.
Dog Bowl Stand
If you have a fur baby you might want to make them happy with their own sturdy bowl stand. This is perfect for beginners and should only cost around $40 and take about 2 hours of your time.
You will need 1/4″ plywood, 2X2 board, 3/4″ plywood, screws, dog bowls, and wood glue. The tools you will need include:
- Iron
- Jigsaw
- Table saw
- Clamps
- Drill
- Compass
- Utility Knife
- Miter saw
- Pocket Hole Jig
First, you will cut out four legs and then drill the pocket holes to put the pieces together to make the dog bowl. Then, cut the holes for the bowls on the top piece of wood that will attach to the four legs you cut out.
Use the wood glue to put all of the pieces together and then use the clamps to hold everything until the glue dries all the way. You can stain the wood or leave it with its natural look and watch your fur baby thank you with some extra cuddles!
Wood Tray
Who doesn’t love a good old fashioned breakfast in bed? Why not make your own DIY stained wood tray? All you need is 4 2′ 1X4 boards, 2 14″ 1X4 boards, 2 handles, stain, 1 1/2″ wood screws, drill, saw, tape measure, and paintbrush.
Cut the 4 boards to the size you want your tray to be and then measure your width to cut the cross section pieces. Put the four pieces next to each other and then the two cross section pieces on each side and stain the tray with your preferred shade. Last but not least, drill the handles on each cross section.
Ready to Gather Your Tools Required?
Now that you have our top DIY projects you can do at home, it is time to gather the tools required to get the job done. Enjoy the fruits of your labor and have fun showing off your projects to friends and family next time they come to visit.
Enjoyed this article? Browse this section some more for our latest.