How to Create (and Organize!) the Ultimate Craft Closet
You never know when creativity will strike. Are you prepared for an emergency craft attack?
When the need arises to create you want to be able to find your materials.
Here, we tell you how to create a craft closet to keep all your materials organized and ready for you at a moments notice.
How to Create (and Organize!) the Ultimate Craft Closet
When considering the ultimate craft closet a different picture will come to mind for each different crafter.
Depending on your favorite mediums your crafting space could look very different.
The key to a functional and organized craft closet is understanding your crafting needs.
What kind of supplies do you need to store? How do you use those items?
Gather Your Crafting Supplies
The first step in planning an amazing craft storage space is to gather together all the crafting supplies you have in your home.
Find a large space and lay them all out. This is the best time to organize them in a way that makes sense to you and the projects you do.
Put all like items together or organize by project type. Whatever way works best for you.
Now you have a visual on the actual amount of stuff you have. Chances are there will be a lot more than you thought.
Take this as an opportunity to purge old items or unusable scraps. Then move on to the next step, planning.
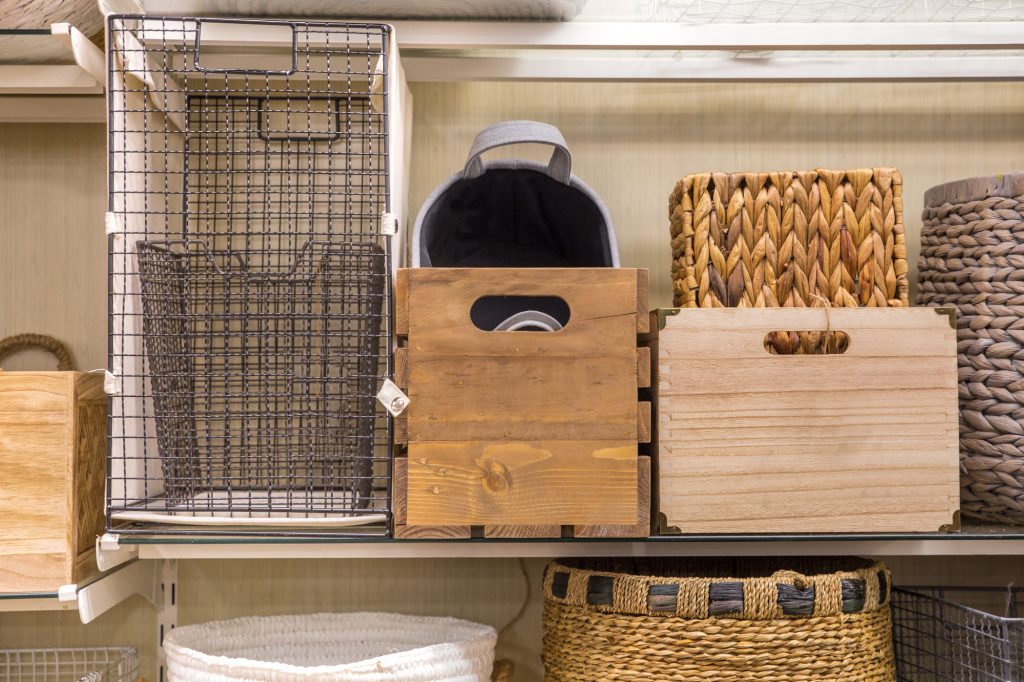
Consider Proper Storage for What You Craft
Now that you have all your materials laid out you can get a sense of what types of storage you’re going to need.
To create the most effective craft closet organizer you’ll want the right tools for the job.
If you craft with lots of paper a file folder organizer could be a great option.
Crafting with lots of brushes and paints? Drawers would be a better option for those items.
Make a list of how to store each type of object and, if applicable, take measurements of certain items to make sure you have enough room. If you live in a smaller home without much closet space, check out some tips for making the most of your space here.
Repurpose and Upcycle Furniture From Your Own Home
One of the best ways to keep your storage endeavors affordable is to look around your house for items to repurpose.
Do the drawers lay empty in the armoire in your guest room for most of the year? Transfer it into a craft armoire.
Have a few old cabinets sitting in the garage from the last kitchen remodel? Take one into your crafting space and make it a craft cabinet.
Think about items you’re using for other things that you could repurpose for craft storage.
Take the hanging basket from the kitchen and use it to keep smaller crafting items organized.
Have some old plastic storage containers that wouldn’t be good for food anymore? Screw them into your craft cabinet for open storage.
You can even put smaller shelving units around your house into your larger storage piece so it is all contained.
All this will leave your home feeling less cluttered, give old things new life, and organize your craft supplies.
Research and Execute
So, you’ve salvaged and repurposed everything you can think of from your own home and there are still some items that don’t have a home.
Research the storage ideas that meant for the remaining items. Find what storage items are available on sale at your local craft shop.
Remember that you can repurpose items in stores the same way you did in your home.
Is it $30 for a wrapper paper holder for the wall at the craft store? Consider using a towel rod from the home improvement store that will function in the same way (putting the roll on the dowel and unrolling as needed).
Remember that when something has a specialty purpose it will always be more expensive. If you see something you like in a craft store try and find something similar for a cheaper purpose.
Eyeing that fancy over the door craft storage unit with multiple size pockets? Use an over the door shoe organizer from the dollar store to accomplish the same idea for much less.
Remember that you can find inexpensive materials at a home improvement store and make something yourself with only a few screws.
Get yourself a sheet of pegboard, have the friendly folks at the store cut it to size for you, and use it on the back of your organizer.
You can add all sorts of storage arrangements using only some inexpensive small wood doweling.
Make sure you consider how you will be using the craft supplies you have. If you use vinyl on rolls consider a storage solution that allows you to pull straight from the cabinet.
If you are a jewelry maker, you can mark out specific storage spaces in your pegboard for your tools so you’ll always know what’s missing. Add in some ice cube trays to hold tiny beads and other bangles.
You don’t have to buy the expensive jewelry organizer if no one is ever going to see it.
Do your research, compare and contrast pricing, and then go and shop for the remaining storage items you need.
A crafter is a DIY expert at heart so use your talents and save yourself a bundle of cash.
The Best Craft Closet Works Best For You
The only way to accomplish the ultimate organized craft closet is by creating one that works for the way you craft.
Be smart, analyze your supplies, repurpose from your own home, and get creative in your outlook. Before you know it, you will have an amazing crafting space that didn’t break the bank.
Because let’s be honest, you’ve already spent too much on all those supplies in the first place.
Make sure you leave room for glitter in your newly organized craft closet! Here’s another great blog on using and storing glitter without the mess.