A Beginners Guide to Easy Fiberglass Boat Repair
Have you ever shied away from a major purchase because of the maintenance aspect of owning the item?
Buying a boat means doing a lot of work in exchange for the pleasure of relaxing on the water. Is it too much? The good news is you can probably do minor repairs yourself.
Sure we insure our boats in case of major problems, but what about scuffs and scratches? If you have a minor dent or small repair, chances are you can do it yourself.
Fiberglass boat repair isn’t too difficult, and with our handy guide, you’ll save money and have a boat that is good as new.
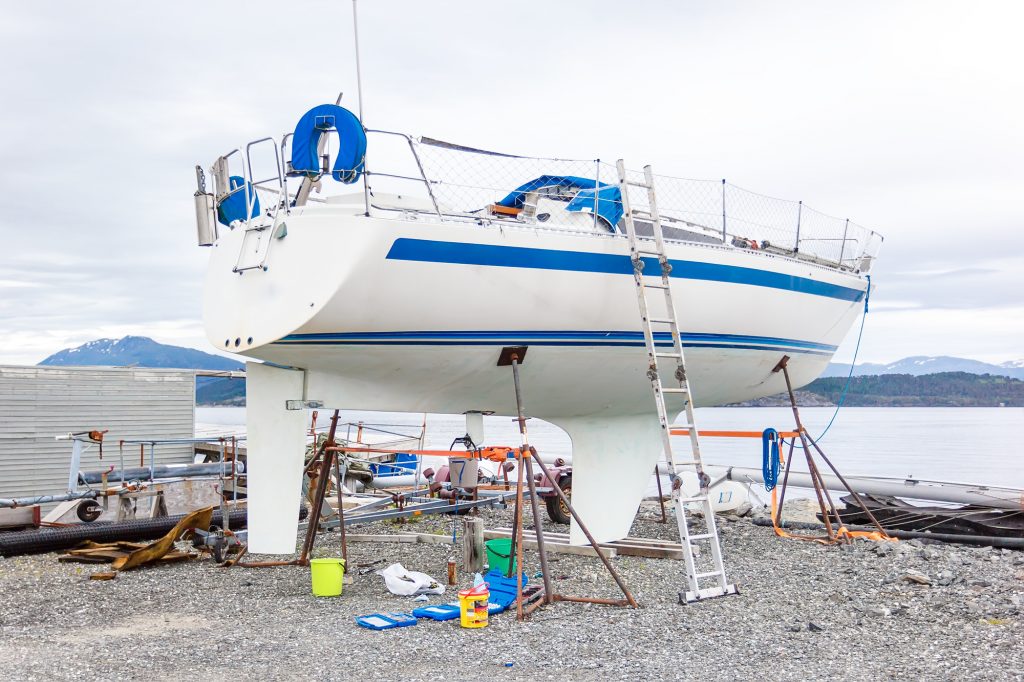
Fiberglass Boat Repair
Take a look – repairing your own boat really isn’t too hard. If you need a self-esteem booster, you’ll be pretty proud of yourself after this project is finished, in addition to your newly-repaired beauty.
You may even be ready to tackle other boat repair jobs. This company has parts you may need for boat repair projects and helpful tips for boat owners.
Find Model and Serial Numbers
Finding your model number is easy, no extensive searching necessary. On the transom, find the NMMA Capacity Plate, probably either left or right of center.
Both the boat’s model number and serial number (or HIN) is located there.
The plate will also tell you other helpful information, like how many passengers your boat was designed to carry and what kind of horsepower you should have in your motor.
Contact the Manufacturer
You can order gel coat from someone other than the manufacturer, but you’ll have to start color matching from scratch. It’s better to contact the original manufacturer because their color match will be closest to the original color.
If the manufacturer is out of business or they don’t carry your boat’s color anymore (this happens with older models), you can either use a gel coat that is close in color off the shelf, or you can try to mix your own. We recommend purchasing a color mixing kit that will make mixing your own colors easier.
Get Supplies
To repair a fiberglass boat, you’ll need the above-mentioned gel coat, chop (a fiberglass filler), gel coat reducer, gel coat hardener, acetone, rags, gloves, foam cups, stir sticks, buffing compound, wax, and sandpaper in varying grit.
You’ll also need the following tools: respirator, wool buffing pad with a professional buffer (this has to have varying speeds), rotary tool, burr nose bit, and a disposable spray gun.
Prepare Gouges and Scratches
Using the rotary tool, or a disc sander, along with the burr nose bit, sand the inside of each gouge in a rounded shape like a C. Make sure the edges are smooth.
Finish with sandpaper if necessary, starting with the roughest grit and working to a finer sandpaper.
Mix Chop Filler
Before you mix the filler, it is a good idea to put on your gloves to protect your hands from the chemicals and wear your respirator.
Mix only enough chop to fill one gouge at a time because it hardens beyond workability in ten or twenty minutes. Put some in a foam cup, and use a stir stick to work in the gel coat and hardener.
The goal is to end up with a putty that is the same consistency as peanut butter. You will want to mix it thoroughly, otherwise the compound will not dry consistently.
Fill Gouges and Scratches
Now you are ready to fill the gouges with the chop compound. Make sure to fill completely, and overfill just a bit, so that the compound piles higher than the surface of the hull. You can sand the excess down later.
Let Chop Filler Dry
Let the chop compound dry completely before you try to sand it. If you mixed the chop filler thoroughly with the hardener and gel coat, you should be able to touch it without feeling any stickiness.
Each fill job should only take about 2 hours to cure. Once you finish mixing and filling a gouge, move on to the next one, and by the time you fill them all, the first one will probably be ready for sanding.
Sand Down Repair Spots
Use your sandpaper to sand down the filled spots on the hull. Make sure not to sand too far. You want the new fiberglass to be flush with the old.
Apply the Gel Coat
Now is the time to use the sprayer with the gel coat (sans the chop filler). Follow the instructions on the package, including the ratio of reducer and hardener to gel coat. If you do not use the reducer, it will be too thick to go through the sprayer.
Don’t worry if the gel coat seems lumpy or inconsistent. It won’t look like a smooth paint coat until you finish buffing it.
Buff
Wait for the gel coat to cure before you begin buffing.
Take some sandpaper and sand the filled gouges again, using finer and finer sandpaper.
This is where the professional buffer comes in. Make sure you use a professional tool with varying speeds and enough power to get the job done right.
You probably want to sit down to use the buffer. Apply the buffing compound right on the wool pad, then begin buffing a small area. Work on one small area at a time so the compound doesn’t have a chance to dry completely.
Use consistent pressure, but don’t feel you have to press too hard. As the buffing compound dries, ease up on the pressure. Don’t let the compound dry completely. Wipe it off as it becomes a “haze.”
Buff the repaired areas first, then finish with the rest of the boat.
Wax
Congratulations! You’ve reached the final step. Follow the instructions on the package to wax the new gel coat on your boat. It should have a nice shine when you’re finished.
Ready to Start?
Getting out on your boat is great for relaxing and for your health. Spending lots of money on fiberglass boat repair isn’t necessary to get your boat back out on the water.
Keep your stress low and your wallet full by filling those scratches and gouges yourself. Then you can spend time where it really counts – on the water.
For more information, visit our website.