A Handyman’s Guide to Replacing an Electrical Outlet
Did you know that there are nine different types of outlets that you can have inside your home? They all may perform different functions, but they’re wired the same. There’s a hot wire that supplies the electricity, a neutral wire, and a ground wire.
In time, you may find that you need to replace the plugs that are in your home. This guide will help you get the job done by explaining the process of replacing an electrical outlet.
Know When It’s Time to Replace Electric Sockets
If you see your outlets looking discolored and gross, then it’s time to replace them. This small touch makes a big impact on the overall look of your home.
Another concern is to look out for sockets that no longer hold a plug securely. This can be a safety or fire hazard.
The final reason to replace your outlets is if you want to change the setup you currently have. Perhaps you’d like to add a plug that has USB ports.
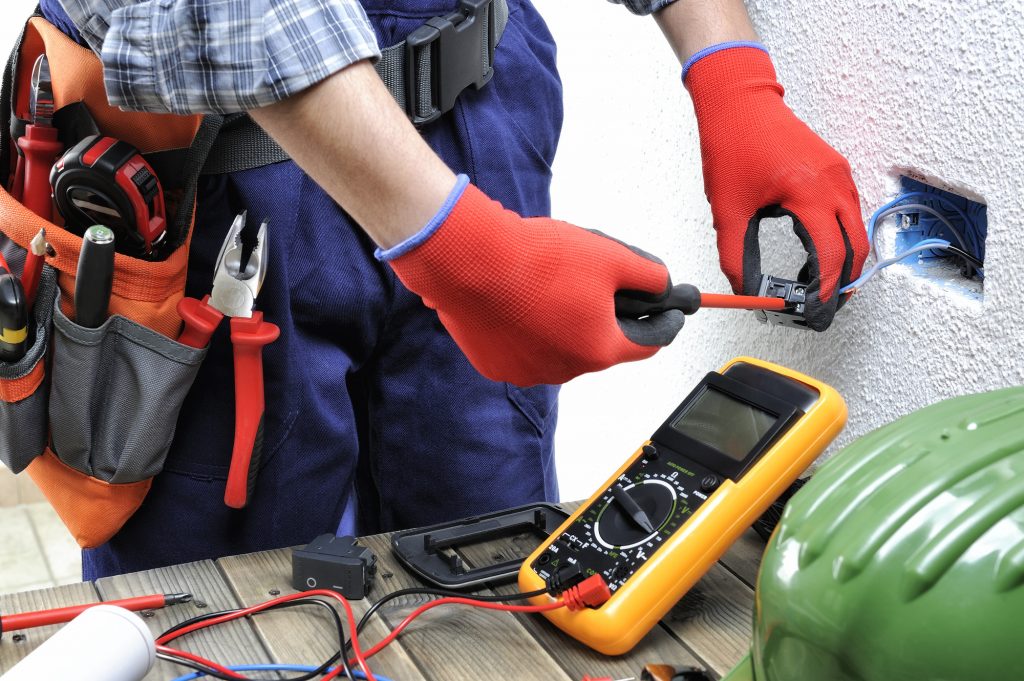
Replacing an Electrical Outlet
The first step is to turn the power off. You can do this at the breaker. This ensures your safety during the replacement.
Remove the Old Outlet
You can now remove the faceplate by taking out the screw in the middle of the plate.
This will reveal two more screws. Remove these to release the electrical outlet box. There are wires that are connected to the old electrical box that you’ll need to remove.
Loosen the screws to release the wires. Go just enough to release the wire. Throw the old outlet in the trash; you don’t need this component anymore.
Install the New Outlet
Start by looking for a bare copper wire or a green wire. You’ll have one or the other, and it’s the ground wire. Check to make sure it’s wrapped around the grounding screw on the electrical box that’s in the wall.
The sides of your outlet have screws. Connect the black wire to the brass screws. Connect your white wire to the silver screws.
The ground wire connects to the ground screw, which is usually a green color. There may be two brass and two silver screws; it doesn’t matter which one you choose.
Hook the wires around the screw in the same direction it will turn when tightening it down. This will help the screw pull the wire tighter in and created a secure connection.
Now that you’ve connected everything, push the new outlet into the box and re-screw. Replace the faceplate.
Know When to Call in the Professionals
As you can see, the DIY electronics are fairly simple. However, this is assuming that the electrical wiring was done correctly at the initial installation. If you discover that something is incorrect or looks funky, then you can quickly get in over your head.
That’s when it’s time to call in the professionals, such as Brownie Electric, Inc. They can wire an outlet and fix the electrical fittings at the same time.
Make Your Home Safer
Your electrical outlets are small but provide a much-needed function in your home. If you find yours are in need of an update, this is a project you can do yourself. Follow these steps for replacing an electrical outlet and give them a refresh.
Browse our other DIY articles to learn how to maintain and make repairs to your home.