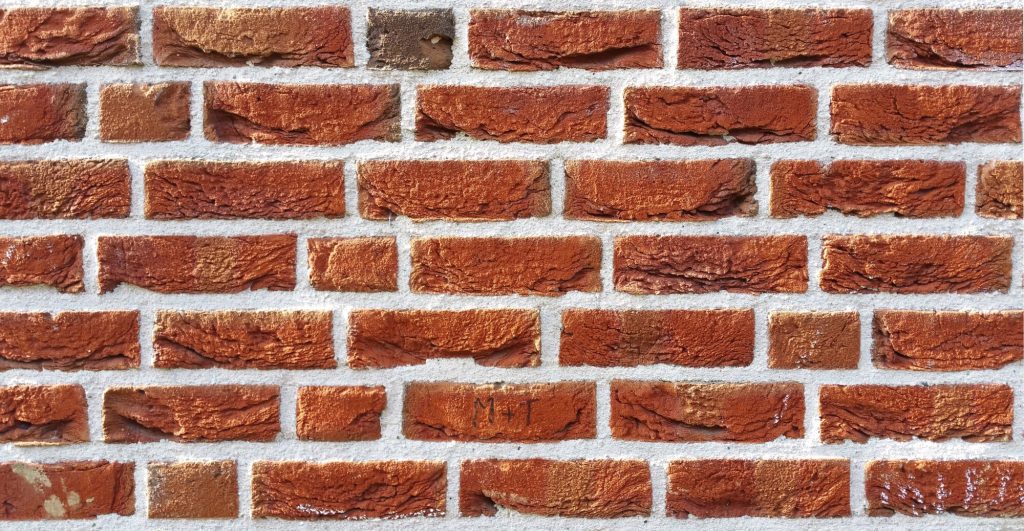
Beginner’s Guide to Tuckpointing
Bricks can be made of clay, sand, or lime-bearing soil. It can be made into a block or single unit.
If you’re considering tuckpointing for your home or business, then you’ll want to know more about it. This article will go over a beginner’s guide to tuckpointing. Read on to explore more about this method, and get your brickwork done for a lower price today!
What Is Tuckpointing?
Tuckpointing is a way that roofing contractors use mortar joints of varying colors for brickwork. It gives the look that fine joints have been made. You embed the narrow lines of putty using contrasting colors into the center of the new mortar joint.
In the U.S. and Canada, confusion occurs since it’s sometimes used with the term pointing. Pointing is when you finish off joints or correct defects. Repointing is when you have wet mortar placed into raked or cut joints for repair.
Why Tuckpointing?
Many choose tuckpointing for their homes because it’s a crisper illusion. The mortar matches the brick colors. You won’t be able to notice when the brick begins and mortar ends unless you look carefully.
They trick the eye into thinking the straight lines are the mortar joints. It gives off the illusion that it was made with crisp new masonry.
Benefits
First, this repair process lets you maintain the look of the exterior of your home. Next, it also lets you keep the structural integrity of the building.
When mortar deteriorates over time, it lets water seep into the masonry. This water can get into buildings as well, and can cause damage.
Tuckpointing is a way to seal and repair gaps to stop water from damaging your home or building. When you hire a professional, they’ll match what you have for the mortar so that repairs match with the remainder of the building.
It’s also a great way to save money as well. It’s much less to have tuckpointing than having to replace or repair full masonry.
The Process
First, your professional will remove the existing mortar joints. Next, they brush debris and dust from the ground mortar joints. The mortar gets mixed to match the current color.
The joints are filled with the new mortar. A professional is best since they’ll use tricks to avoid the mortar getting on the bricks.
When you apply the wet mortar, you then smooth it into a flat surface. Once the new mortar hardens, use a tuckpointing tool to scrape straight lines into the center.
Apply lime putty to the lines to have contrasting fillets. Remove excess.
A Beginner’s Guide to Tuckpointing
Now that you’ve explored this beginner’s guide to tuckpointing, you should have a better idea if it’s right for you. Would you like to read more tips, tricks, and how-tos?
We can help! Check out our other articles today. Stay up-to-date on the latest informative content.

