How to Press Flowers Like a Pro
Are looking for just the right way to keep your flowers from a special occasion in a unique keepsake? Or perhaps you’re a nature lover, looking for a way to use pressed flowers in your latest DIY craft endeavor in an attempt to bring the outside into your own home.
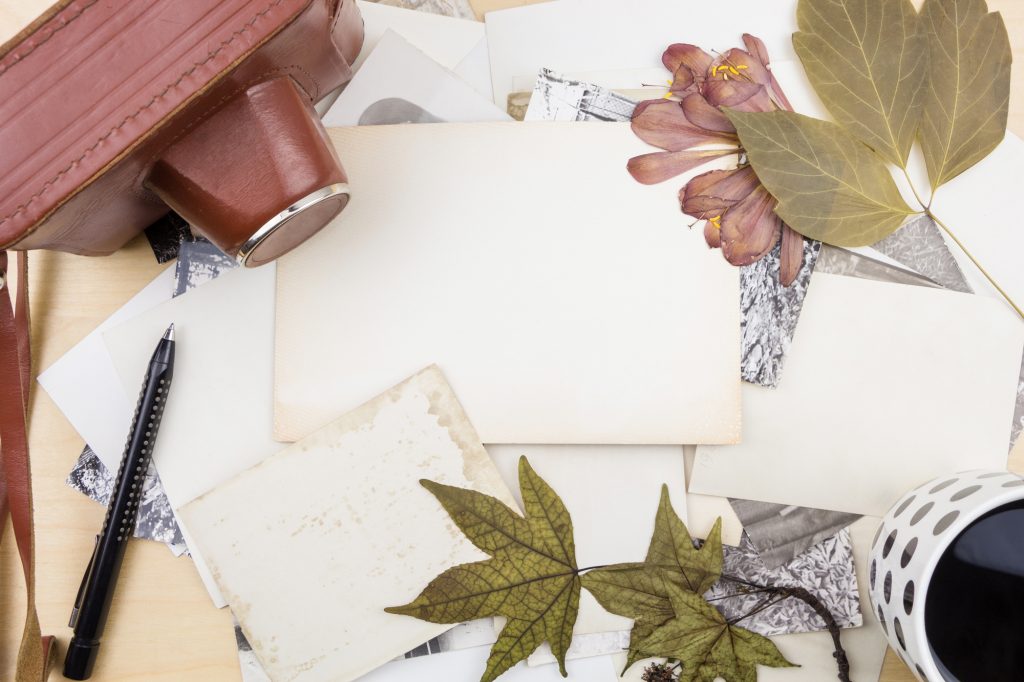
Pressed flowers are an excellent way to preserve memories by saving flowers from special events. Once you press flowers, they can be used in numerous different crafts, like DIY pressed flower phone cases and candles.
But how do you take something so delicate, and turn it into something that can withstand the test of time without accidentally crumbling it into pieces in the process?
If you’ve ever wanted to know how to create stunning pressed flowers, keep reading for a step-by-step tutorial on how to press flowers like a pro.
Pick Your Flowers
The most important step is to pick what flowers you want to use. Of course, if you’re taking flowers from a special occasion, this will be easy. If you’re looking to get flowers from your very own garden, make sure you pick flowers right after the morning dew has evaporated.
When picking flowers, it’s vital that you choose fresh flowers. The best flowers to use are ones that are still in bud form or ones that have just bloomed.
It’s important to note that flowers with flat faces will be much easier to press. Rounded flowers, like roses, will have to be cut in half first.
If you won’t have time to press them right away, you can keep them fresh longer by putting them in the refrigerator.
Prep Your Flowers
Once you’ve picked your flowers, it’s time to prepare them to get pressed. The first step is to properly hydrate them.
Now, I know what you’re thinking: why hydrate flowers you’re about to dry? Well, hydrating your flowers first allows them to retain the most vibrant colors. It will also help you achieve the best result when pressing them later on.
What You’ll Need:
-Scissors
-1 vase full of water
-Flower food or 1 tablespoon of sugar
1) Fill a vase with water and add flower food. If you don’t have any flower food, that’s fine – one tablespoon of sugar will work as well.
2) Cut the bottom off of each stem at an angle. For the best results, hold the flower upside down under gently running water while doing this. Cut all the leaves off that are below the water line of the vase.
If you want to keep the leaves on your pressed flowers, then lower the water line in your vase. Any leaves that soak in the water will end up rotting and won’t press very well.
3) Place the flowers in your filled vase. Keep them in a cool, ventilated space for a few hours to allow them to hydrate. Avoid direct sunlight.
Get Ready to Press
Now that your flowers are prepped and hydrated, it’s time for the fun part!
There are several different methods you can choose from to press flowers, including using books, wood, and an iron. But, for the purpose of this article, we’ll just show you one: the book method.
Why did we choose the book method? Well, the book method is usually seen as the easiest way to press flowers. It also doesn’t require any special materials.
What You’ll Need:
-Scissors or a knife
-Several heavy books
-Several sheets of plain, non-printed paper
-Flexible “paper”, such as tissue paper or coffee filters
-Cardboard
First, let’s talk about your paper options. Chances are, the color of the flowers will bleed and stain the paper that they come in contact with. We recommend using cardboard as a thick outer layer to ensure your floor and books won’t get stained.
If you don’t have cardboard, that’s fine – you can also use extra layers of paper to prevent this.
When choosing which paper to use, we recommend a plain white printer paper. The paper will get wet so printed paper, like newspaper, might transfer images onto your flowers, and nobody wants that!
The third type of paper is what we call your “flexible paper.” You’ll need to get your flowers off the paper sooner or later and after being pressed down so hard for so long, they might stick a little.
Pressed flowers are still very delicate, so a more flexible material, like tissue paper or coffee filters will be a little easier to maneuver in your attempts to remove any sticking flowers.
Okay, so now onto the directions:
1) Decide if your flowers will need to be cut. Bulky or spherical flowers, like roses and orchids, will need to be cut in half with a pair of scissors or a knife. If you don’t have any flowers like this, then great! You can move onto the next step.
2) Create your layering. Start with a piece of cardboard, place a layer of plain paper followed by a layer of tissue paper on the very top.
3) Place the flowers you want to press on top of the tissue paper. Make sure that the flowers aren’t overlapping or too close together! You want to leave enough room so the moisture won’t spread onto the neighboring flowers when being pressed.
4) Once your flowers are in place, put a piece of tissue paper on top of them, followed by a piece of paper and a piece of cardboard.
5) Stack several heavy books on top of your press flower layers. You can also use a brick, cement block, or anything else heavy to press your flowers.
6) The flowers will take approximately 2-4 weeks to fully dry and press. However, you should check on your flowers once a week and exchange the paper for better water absorption.
Now You Know How to Press Flowers Like a Pro
Well, there you have it – a step-by-step guide to pressing flowers like a pro.
You can use these flowers to adorn scrapbooks, candles, picture frames, and more. While the process might be a bit lengthy, there’s no easier way to press flowers than by using the book method.
Did you have fun making your pressed flowers? Check out our DIY page for more fun activities.