How to Make a DIY Wood Table
You want a wood table but they’re too expensive. And it’s not like you can just make one yourself, right?
WRONG!
There are a number of ways to make DIY tables, but even if you’re a total carpentry noob, we’re going to show you how you can make an awesome DIY wood table without too much trouble. Keep reading to level up your carpentry skills.
What You’ll Need
Easy as it may be, you will still need to purchase the following materials, unless you already have them:
- Wood
- Screws
- Wood glue
- Paint or wood stain and topcoat
You will also need these tools:
- Bar clamps
- Paintbrush
- Carpenter’s square
- Saw
- Sandpaper or power sander
Don’t worry, though. Buying these items is still way cheaper than buying a professionally made wood table.
Step 1: Brainstorm
After buying what you need, but before getting all construction crazy, you must decide what kind of table you’re building. Start by answering some questions.
“What room is it going in? And what kind of table do I want/need, exactly?”
You could make a coffee table, end table, pub table, dinner table… Decide what kind of table you want and for what room.
“How much space do I have for it?”
Then, measure the length and width of the exact spot you wish to place the table. Make the dimensions of the table slightly smaller than your measurements so it’s not too hard to fit the table in.
Speaking of fitting, also measure a typical doorway of your house. Make sure the table dimensions allow you to move the table through doorways in case you need to move it in or out of the house or to other rooms.
“How tall and what shape do you want it?”
Height is usually a less restricted dimension. So just pick the height that is comfortable for you or matches whatever chairs you are planning to use with it.
As far as shape goes, square or rectangle is easiest for beginners. A circle table is more difficult to cut and every other shape is difficult to measure. Since this is a beginner’s tutorial, we’re only going to cover square or rectangle tables.
Step 2: Sketch
Now that you’ve decided exactly what table you’re making, write it down. Make a (crude) sketch of your table and list the dimensions. In fact, it’s fastest to do this while you are answering the above questions.
Step 3: Buy Things
Time to buy what you need from the list at the top.
When buying wood, it’s best to get one large plank for your tabletop. Otherwise, you’ll have to construct a table out of smaller planks. And that can be problematic for beginners.
For one thing, it adds another big step to your project. Plus, it’s not going to look as good or hold together as well unless you cut jointed edges for each plank. Plus, for that you need a jointing jig, which you probably don’t have.
So keep it simple for this project and just get a whole (big enough) plank for your tabletop. You will also need enough wood for four legs and the under-table.
As for wood choice, softer wood will be easier to cut. But if you want a fancier, more durable table, go with hardwood. It’s your choice.
Step 4: Construct the Under-Table
Since you’ve chosen a whole plank for your tabletop, there’s no need to construct one.
(If you really want a circle table, put a nail in the center of your plank attached to a measured string with a pencil on the end. Pull the string tight and use the pencil to draw a circle. Then have fun sawing.)
Now it’s time to create your under-table. The under-table is a square or rectangle underneath your tabletop that holds the legs in place. Whether your table is round or square, your under table will still be a square or rectangle.
To start, measure a few inches in from the edge of your tabletop and mark it on the underside of the tabletop. Measure the length you need for the four under-table planks. Cut the planks a few inches wide and the length you need them to be.
Glue the four boards to the underside of the tabletop according to your marks and to each other. It’s a good idea to screw them into place, too. Leave the tabletop upside down overnight for the glue to dry.
Step 5: Cut and Attach the Legs
First, cut one leg according to the height you want. (Remember, the tabletop adds about an inch of height.) Then cut three more legs approximately the same size.
Clamp all four legs together using bar clamps. Try to line them up as evenly as you can on one end. Cut any excess off the other end to make the legs even.
Next, it’s easier to sand the legs now before you attach them. But leave a few inches from the top of the leg unsanded make sure it fits into the table top correctly. And don’t sand the bottom edge; you will make it level once the table is complete.
Then, with your tabletop upside-down, glue the unsanded tops of your legs into the corners of the under-table. Apply the glue anywhere the leg touches the table top or under-table. Clamp the legs in place and screw them into the table from the outside of the under-table.
Use your carpenter’s square to verify that the legs are at a right angle with the table before and after you screw them in. You will need to adjust your screws if the legs are not at a right angle. Leave the table upside-down to dry overnight.
Step 6: Sand
Once the glue is completely dry, turn the table right-side-up and check to make sure it’s level. If not, sand the bottom of the table legs until it rests firmly without wobbling.
Sand all remaining exposed surfaces. But be careful: if you sand too much and end up with divots and dents in your table, you can’t undo it. Make sure you don’t over-sand.
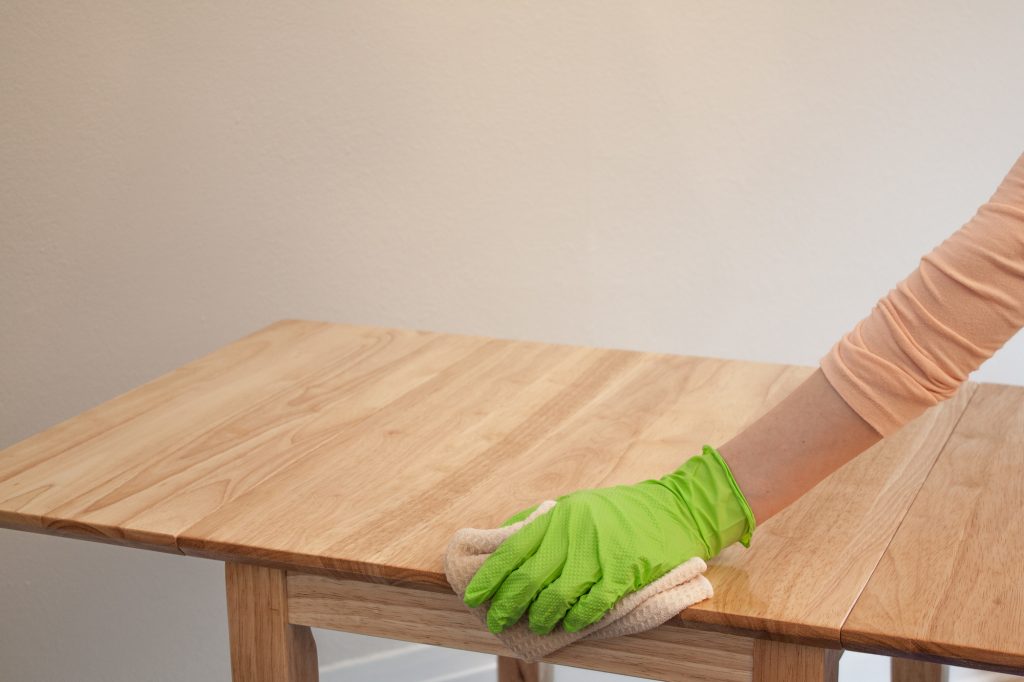
Step 7: Finishing Touches
Wipe away any excess sawdust and apply paint or as many layers of a wood stain as you’d like, followed by a protective topcoat. Also, install some kind of pads on the feet of your table so it moves easily without scratching floors.
Step 8: Enjoy Your DIY Wood Table
Great job, you’re done! All that’s left to do now is pull up a chair and enjoy some nachos and a cold one at your new, DIY wood table.
Want something else to build? Check out How to Build an Awesome Treehouse for Kids. For more DIY ways to save money, see Top Tips for DIY Pressure Washing and How to Turn Your Foundation Repair into a DIY Project.